
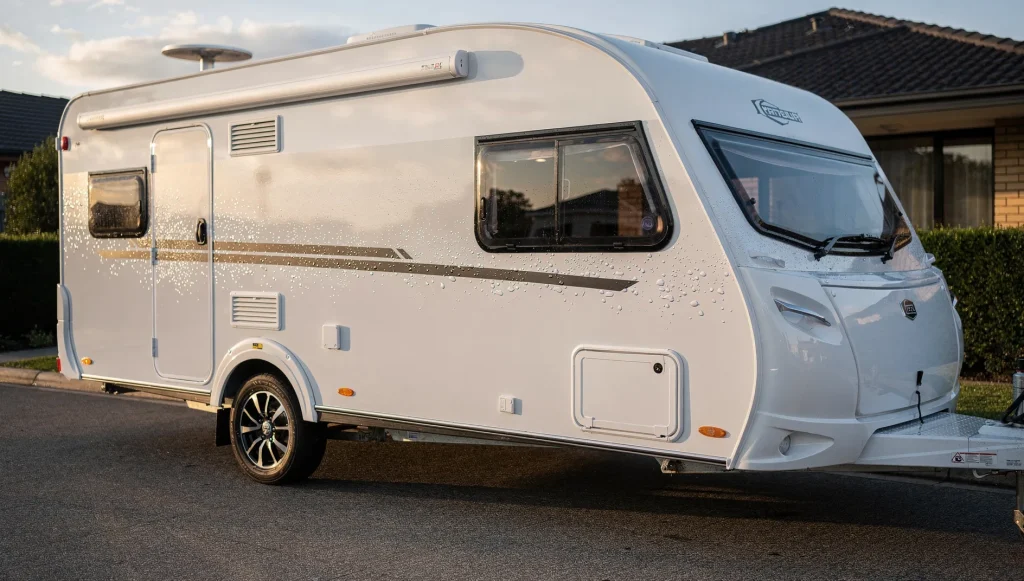
When was the last time you really looked at your caravan’s wheels after a trip? Most owners hose down the body, wipe the windows and call it done – but the alloy wheels and tyres carry baked-on brake dust, salt air residue and road grime that a quick rinse never shifts. That lower assembly is easily the most overlooked part of the exterior, and professional caravan exterior detailing Perth treats it as a distinct task. Done well, cleaning caravan alloy wheels and tyres protects both the finish and the rubber that keeps you safe on the road.
This is a different job from glass and seal care. It centres on metal and rubber, and both react badly to the wrong products and the wrong timing.
Prefer to watch or listen?
Listen onApple Podcasts
Why Alloy Wheels and Tyres Need Dedicated Attention
Brake dust is the main culprit. Every time you brake, fine metallic particles settle on the wheel face. On long WA runs those particles bake onto hot alloy, bond with road grime and become stubborn to remove. Leave them too long and they can begin to pit the finish.
Coastal touring adds salt air, which accelerates corrosion on any exposed metal. Outback travel swaps that for red dust and fine grit that works into every crevice. Heat build-up from long drives sets all of it in place. Standard washing simply doesn’t reach or lift this layer, which is why the wheels and tyres deserve their own step.
Step-by-Step Cleaning of Alloy Wheels
Work through the wheels methodically, one at a time, so nothing dries before you rinse it.
- Let the surfaces cool. Never clean hot alloy. Heat causes water and product to evaporate too fast, leaving streaks and risking damage to the finish. Park in the shade and give the wheels time to come down to ambient temperature.
- Rinse off loose dirt first. A thorough water rinse removes grit that would otherwise scratch the surface during scrubbing.
- Use the right brush. A soft wheel brush reaches between spokes and around the barrel without marring the alloy. Avoid stiff wire or abrasive pads.
- Loosen the grime gently. Apply a wheel-safe cleaner suited to alloy, let it dwell briefly, then agitate with the brush. Don’t reach for harsh, acidic or heavy-duty degreasers that can strip or dull the protective coating on the wheel.
- Rinse thoroughly. Flush away every trace of product and loosened dust. Residue left to dry can mark the finish.
Keeping a dedicated bucket and brush for wheels stops brake dust and grit from transferring onto the painted body later in the wash.
Cleaning and Protecting Tyres
Tyres collect grease, grime and road film that dull the rubber and trap UV damage. Clean them with water and a mild wash solution, scrubbing the sidewalls to lift built-up grease. Rinse well so no cleaner sits in the tread or bead area.
Soft, well-maintained rubber matters on long hauls. Caravans often sit unused between trips, and rubber that dries out becomes brittle. Cleaning gives you a regular chance to inspect the sidewalls for the early signs of perishing – fine surface cracks that spread if ignored.
Turning the Wash Into a Safety Inspection
While you’re down at wheel level, use the time to check what you can’t see while towing.
- Pressure: Check each tyre against the recommended cold pressure before a trip. Under-inflation builds heat on long WA drives.
- Wear: Read the tyre wear indicators moulded into the tread. When the tread wears level with these raised bars, the tyre has reached its limit.
- Damage: Look for bulges, cuts, embedded stones and uneven wear patterns that hint at a deeper problem.
- Age cracking: Inspect sidewalls for cracking, which can appear well before the tread is worn out, especially on vans that sit for long stretches.
A clean wheel makes all of this far easier to spot, which is one of the best reasons to keep up the routine.
Protecting the Finish Afterwards
Once the alloy is clean and dry, a suitable wheel coating helps repel brake dust and grime, so the next wash takes less effort. It also adds a barrier against salt air and moisture. Apply it only to a clean, cool, dry surface for it to bond properly.
For the tyres, a quality rubber dressing slows UV cracking during long touring stints and keeps the rubber supple. Apply it sparingly and keep it off the tread. Treat this the way you would any protective layer on the van – the same care you give to keeping windows and seals in good condition applies to the metal and rubber below.
Building a Simple Maintenance Rhythm
Wheels and tyres stay easier to manage when you don’t let grime accumulate. A light clean after each trip, a closer inspection before heading off again, and a reapplication of protection every so often keeps everything looking clean and performing safely between adventures. Coastal and outback journeys ask for more frequent attention than a quiet stint at home.
With the lower assembly handled, the next overlooked area sits at the very top of the van, where sun exposure is harshest – the roof-mounted equipment that benefits from careful, surface-appropriate cleaning all deserves the same methodical approach you’ve just applied below.