
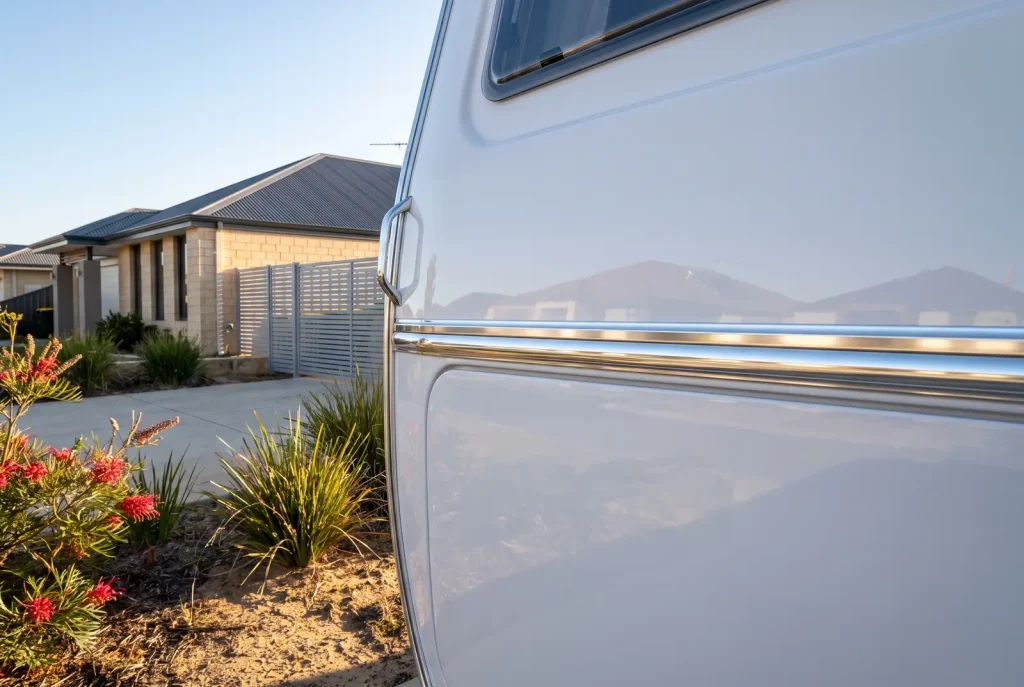
You park the van after the last big trip, throw a cover over it or wheel it into the shed, and tell yourself you’ll deal with it next season. It’s a familiar scene for plenty of WA owners. The problem is that a stored caravan isn’t dormant in the way it looks – it’s slowly working against itself. Trapped moisture, salt residue, baked-on grime, UV oxidation and opportunistic pests all keep going while nobody’s watching. Getting the van properly prepared, ideally starting with a thorough professional caravan detailing Perth before it goes to rest, gives the surfaces and interior the best chance of sitting safely for months instead of degrading in silence.
This is a different job to your usual maintenance rhythm. Where the seasonal care routine keeps an actively used van in good shape across the year, storage preparation treats the caravan as an object that has to survive a long, untouched stretch. The damage here accumulates invisibly, which is exactly why the prep matters.
Prefer to watch or listen?
Listen onApple Podcasts
Why the Clean Before Storage Matters Most
Most people clean a caravan when they get it out, not when they put it away. That’s backwards. Anything left on the surfaces when the van goes into storage has weeks or months to do its work undisturbed.
Salt from coastal driving keeps drawing moisture and attacking metal fittings. Road grime and tree sap bake harder onto paint and fibreglass. Bird droppings and organic matter etch into clear coats and leave permanent staining. Bugs and dead insects trap moisture against the surface. None of this pauses while the van sits.
A full pre-storage clean strips all of that away so the surfaces start their rest period neutral. Wash the exterior thoroughly, decontaminate stubborn deposits, and let everything dry completely before anything gets sealed or covered. A wet caravan put into storage is a mould and corrosion problem waiting to happen.
Protecting Exterior Surfaces for a Long Dormant Period
Once clean and dry, the exterior needs a protective layer that can hold up over months, not days. Different materials on a caravan age in different ways when left exposed.
- Fibreglass and gel-coat panels oxidise and dull under sustained UV, leaving a chalky surface that’s far harder to correct later.
- Painted panels lose gloss and can develop fading, especially on the sun-facing side of a van parked in the same spot for months.
- Aluminium sections and trim are prone to oxidation and pitting, particularly where salt residue lingers.
- The roof takes the harshest UV load and is easy to forget – yet it’s where sealant, vents and seams quietly degrade.
Applying a suitable protective coating or wax before storage helps shield these surfaces from UV and oxidation. Don’t skip the roof; it’s the most exposed and the most overlooked. The goal is to lock in a clean, protected surface so you’re not correcting months of accumulated damage when the van comes back out.
Preparing the Interior Against Moisture and Mould
The inside of a sealed caravan is a small, still environment – perfect conditions for mould and that musty smell that never quite leaves. Even in WA’s dry stretches, humidity swings and overnight condensation build up over months.
Start by cleaning the interior properly and letting soft furnishings dry out fully. Lift cushions and mattresses off flat surfaces so air can move around them, or store them elevated. Wipe down the fridge, leave its door propped open, and make sure it’s completely dry to stop mould forming inside.
Encourage airflow where you can. Slightly cracked vents or moisture absorbers help manage trapped humidity. And clear out every scrap of food – anything edible left behind attracts pests and breeds odours. Empty the pantry, check drawers, and don’t forget crumbs in seat bases.
Keeping Pests and Vermin Out
An undisturbed caravan is an inviting home for rodents, insects and spiders. Once they’re in, they nest in upholstery, chew wiring and leave droppings that are costly and unpleasant to clean.
Walk the van and look for entry points. Gaps around plumbing and cable pass-throughs, worn door and window seals, vents and the underside of the chassis are all common ways in. Seal what you can and check that existing seals still sit tight. Removing food sources, as above, is half the battle – a van with nothing to eat is far less appealing to a rodent.
Choosing Where and How to Store It
Where the van sits shapes how much it wears. The main decision is covered versus open.
- Undercover storage shields against direct UV and rain, which does the most to slow surface ageing. A shed or dedicated storage yard is ideal where available.
- Open storage exposes the van to constant sun and weather, so surface protection and a breathable cover become more important.
- Orientation matters – a van parked with one side always facing the sun ages unevenly. Where you have a choice, position it to spread that exposure.
If you use a cover, make sure it’s breathable. A non-breathable cover traps moisture against the panels and can cause more harm than going without one.
A Pre-Storage Checklist Before You Lock Up
Run through these before you walk away:
- Wash, decontaminate and fully dry the exterior, including the roof.
- Apply surface protection to fibreglass, paint, aluminium and the roof.
- Clean the interior and dry out all soft furnishings.
- Empty all food and clean the fridge, leaving its door ajar.
- Set up ventilation or moisture control inside.
- Check and seal pest entry points and worn seals.
- Confirm tyres, brakes and battery are set for a long rest.
- Position the van thoughtfully and fit a breathable cover if storing in the open.
Preparation, though, is only half the picture. Plenty of vans aren’t heading into months of storage at all – they’re simply resting between shorter trips, neither fully packed away nor actively on the road. Looking after your caravan during those in-between stretches deserves its own approach, and it’s where a few smart habits go a long way toward keeping all this preparation from unravelling.